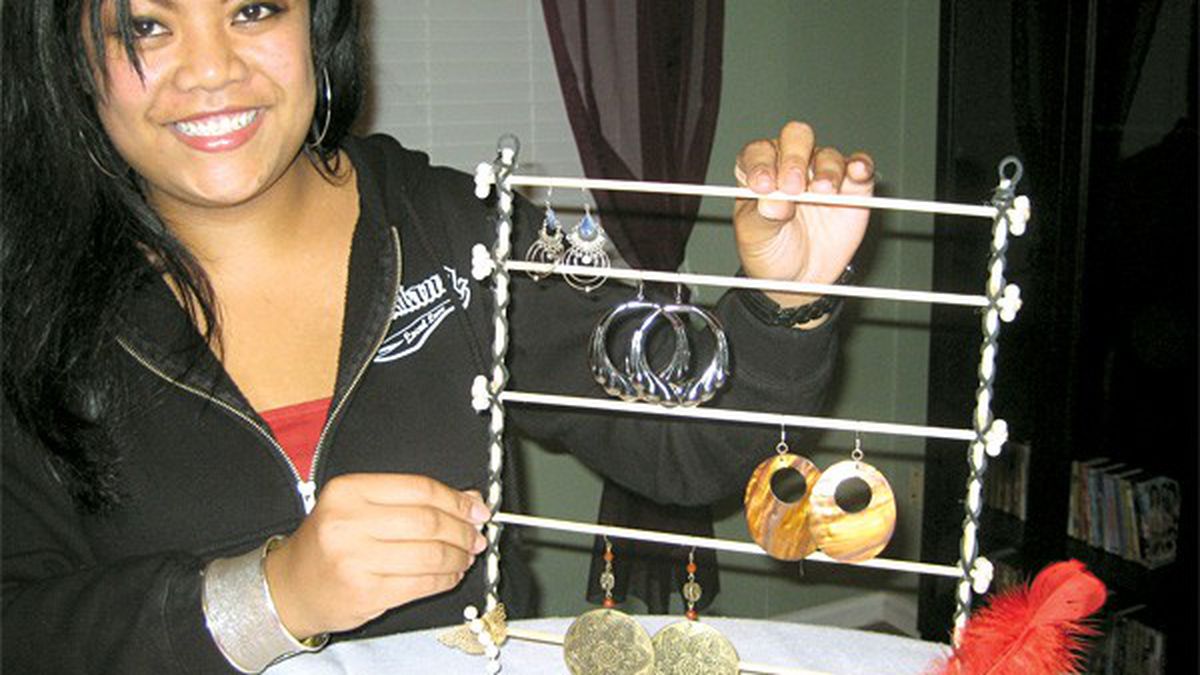
Charles Schwab employee by day, crafter-sewer by night and weekends, 26-year-old Oaklander Pina Huy has always liked the idea of creating something out of nothing. A sewer since age sixteen, she came up with this wall-hanging earring organizer when she got tired of her big earrings always getting into a tangle. While she admits she doesn’t always do things “the right way,” Huy’s simple, ingenious designs — refashioned T-shirts, earring organizer, and others — continually have her friends asking her to make extras. Learn how to make your own rack — for yourself, or a friend — with these simple instructions.
What you need:
Seven dowels (3/16 x 12″), 20 pack for $1.79
Seven feet of black suede-like cord cut into two 3.5 feet pieces
Mini glue gun, prices vary
Two-three glue sticks, 40 pack for $1
Ornaments: nine 1.75″ rope of pearls; feathers, butterflies, etc.
Scissors
Tape measure
Items available at Michael’s or other craft stores.
Step 1: Make the base
Take two dowels and lay them parallel to each other. Take another dowel and lay it across the bottom of the two sticks horizontally, half an inch from the bottom. Glue it down so the ends meet. This will be the bottom of the stand. Make sure the vertical dowels are evenly parallel and the horizontal one perpendicular — use a book to line them up.
Step 2: Make the horizontal bars
The space between the horizontal bars can vary depending on the size of the earrings. Measure three inches up from bottom horizontal bar and glue the fourth dowel across. Measure two inches up from the fourth dowel for your fifth dowel, and glue it down. Do the same for the sixth and seventh dowel. Wait a few minutes for the glue to harden.
Step 3: Wrap the cord around the dowels
Use the black suede cord to hide the glue on the ends of the dowels. Take one 3.5 foot piece and start from the bottom. With both ends of the cord even, start tightly wrapping it around the right-side vertical dowel in a criss-cross pattern. Make sure the criss-cross covers where the vertical and horizontal dowels meet. Use more glue to secure at the intersections. At the top, glue down one end of the cord. Use the other end of the cord to create a loop at the top and glue down to secure. (Loop should be in the back of the rack when hung on the wall). Do the same for the right side dowel.
Step 4: Add decorations
Add glue to the end of the horizontal dowels and wrap each strand of pearl around it, making sure the open end will be on the back side of the rack. Put four strands on each side except the bottom horizontal dowel. Dab glue at the bottom horizontal/vertical intersection of the dowels and apply other ornaments (feather, butterfly, etc.) Let dry. Voila!


